 dailynewsnblog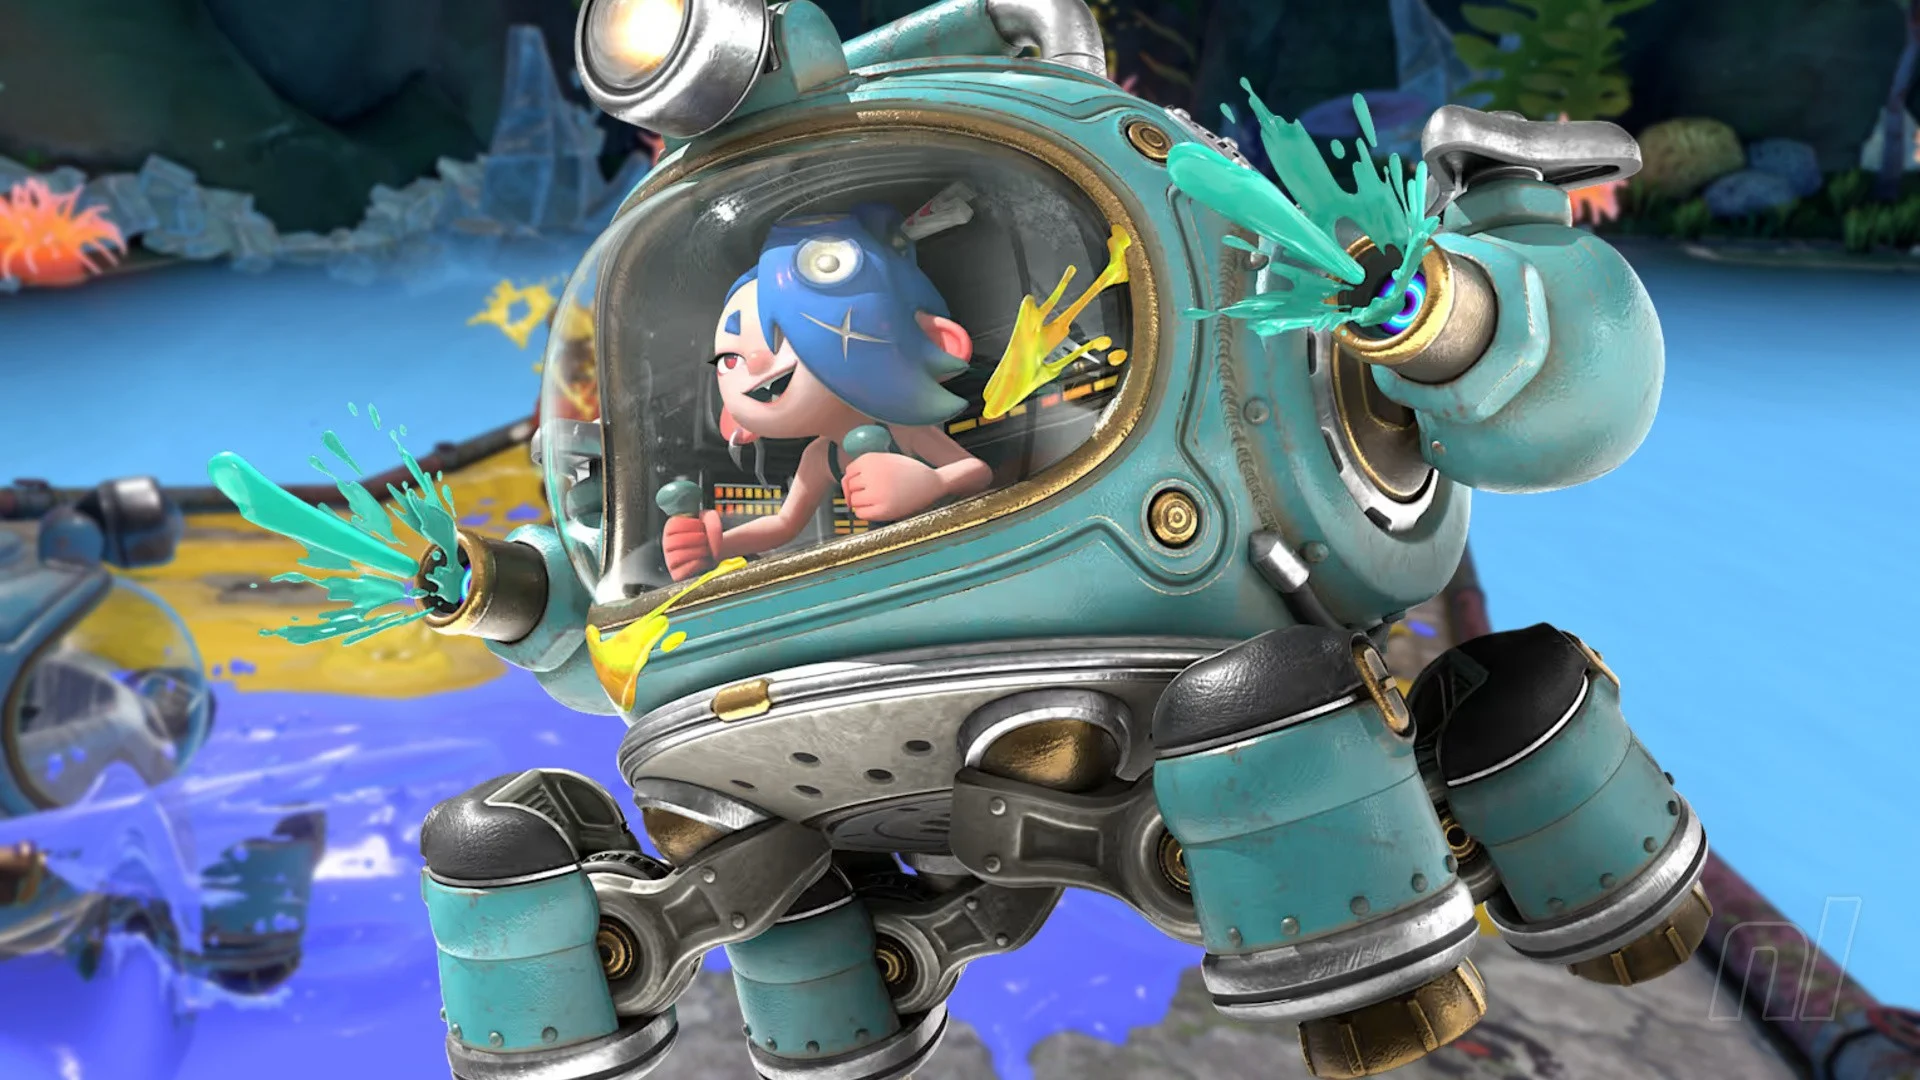

Whether you’re a series veteran or still fresh around the gills, Splatoon Raiders is packed with gameplay, mechanics and upgrades to get your head around. But worry not, we’re here to lend a hand.
In the following Splatoon Raiders guide, we’ll be sharing some hints and tips for surviving the Spirhalite Islands, recommending the best weapons and gadgets, breaking down those Tank upgrades and Boss battles, and revealing how to unlock every outfit.
Ready to dive in? Let’s spread some ink…
Splatoon Raiders: Tips & Tricks
Here are some general tips and tricks to make your journey to the Spirhalite Islands a bit easier.
Experiment, experiment, experiment

Splatoon Raiders is full of customisation options, and it’s important that you use them. Changing your weapon, gadgets, Bot Buddy, Tank and Relics can drastically shift the tide of battle, so we’d recommend switching things up regularly to find what suits your playstyle.
If you’re finding a couple of different builds that work for you, you can set them as a preset by hitting ‘-‘ in the Gear menu. This way, you don’t need to worry about resetting everything manually whenever you fancy switching things up.
Use your Bot Buddy
The Exploration Bot might be the biggest change to the Splatoon formula so far. The opening tutorial levels run you through all manner of useful tricks it can pull off, like combat support, the Bot Hop and Showstopper moves, but it’s important that you remember to use all of these in battle.
The Bot Hop is a brilliant way to get both into and out of the action, so it’s a good idea to always have it by your side by pressing ‘X’ to summon. Likewise, the Showstopper abilities are always a massive help with tougher foes, but it’s important to save them until the time is right — there’s no use wasting all those Power Eggs on one enemy when a hoard of foes is right around the corner.
Speaking of which…
Know your enemy

The Splatoon series has always boasted some impressive enemy variety, and Raiders is no exception. The Spirhalite Islands are home to around 40 different Salmonid types, all of which has its own unique way of moving and attacking.
It’s important that you know the ins-and-outs of each of them, so you can prioritise which to take out first — you don’t want a pesky Smoker or Stinger hanging around while you’re trying to clear out everyone else.
You can learn about each enemy simply by playing through the main story, but if you’re after more info, you can visit the Salmonid Research tab in the Hideout’s Hoard menu.
If you’re stuck, move on
Raiders’ difficulty level can ramp up real fast if you go in unprepared. If you find yourself being defeated time and time again, head back to the map and check out another level or jump back into one you’ve already visited. Aside from boosting your confidence, it’ll also let you level up and collect materials in peace — both of which are crucial for that all-important customisation we mentioned earlier
Collect your Power Eggs

Salmonid Den levels are all about collecting Power Eggs as fast as you can, so this tip might seem like an obvious one, but trust us, it’s worth reiterating: remember to collect your Power Eggs.
You pick up Spirhalite Shards, weapons and materials automatically, but you don’t have the same luxury with Power Eggs. We can think of so many occasions where we’ve been one Mega Egg away from finishing a level, only to have the timer cut us off while we’re running to grab it. Yep, it’s as frustrating as it sounds.
Select gadgets can be upgraded to collect Power Eggs for you, and your Exploration Bot can help out too, but as a general rule of thumb, if you see an Egg on the floor, go get it.
Look for Compasses
Compasses can be found in navy blue crates in all Relic and Crystal-mining levels, and they point the way to bonus Sampler Dungeons, where you can get to grips with gadgets and grab a Skill Point while you’re at it.
Aside from being some of the best levels in the game, these Skill Points come in super handy for late-game levelling-up, so make sure you’re keeping an eye out for those compasses at all times.
Sticking with Tanks/Bot Buddies yields rewards

While experimentation is the name of the game, choosing to stick with a specific Tank and Bot Buddy comes with rewards of its own.
You can build rapport with the three Deep Cut members by taking them out on missions, and there’s a boosted Showstopper ability waiting at the end for all those who do. Likewise, collecting enough Power Eggs with any one Tank unlocks some sweet upgrades, too.
Tinker away
This one goes back to the experimentation and customisation point that we’ve made time and time again so far, but make sure to tinker with your gadgets between runs.
Tinkering lets you add/remove parts to your gadgets, tweaking their power and potentially adding new abilities along the way. You’ll stumble across these parts in just about every level, so it’s always an idea to check back in on your collection regularly and see if there’s anything you can change.
Gadget slots are your friend

Off the back of that last point, let’s talk gadget slots. It’s easy to neglect this Tank Upgrade at first for the more pressing health and damage boost, but as you progress through the game, you’ll want as many slots as you can get your hands on.
More slots mean you can equip more parts (or, at least, more powerful parts) to your gadgets, buffing them even further. We’d still recommend spending your Skill Points elsewhere to start with, but this option isn’t worth overlooking completely.
Gadgets

As you might expect, Splatoon Raiders is home to a bunch of different weapon options, and while sub-weapons are no more in this spinoff, gadgets take their place. Below, you’ll find guides on every weapon and gadget we’ve found so far, and how to upgrade them.
- All Gadgets
Gadgets might seem like sub-weapons on the surface, but there’s a lot more to learn. Here, we run through what each gadget can do and how to tweak them.
Tank Upgrades

The loadout customisation doesn’t end with weapons and gadgets, you’ve also got your Tank to think about in Splatoon Raiders. In this section, we’ve got an introduction to all the options.
- All Tank Upgrades
Wondering where you should put your Skill Points first or which Tank is best? Worry not. In this guide, we cover everything you need to know about Tanks and their upgrades.
Outfits

There are a bunch of outfits to choose from in Splatoon Raiders, and if you’re anything like us, you’ll want to fill up your wardrobe fast. That’s where the following guides come in.
- All amiibo Unlocks
There are a few amiibo unlocks to account for in Raiders, too, and in this guide, we explain the rewards for scanning each figure.
More coming soon!
Bosses

The Spirhalite Islands are absolutely crawling with Salmonids, and that includes some rather nasty bosses. These guides should help make each of them a breeze.
- Bowtlode Temple Boss
Just because it’s up first doesn’t mean it’s a walk in the park. This guide is all about how to beat Splatoon Raiders’ Bowtlode Temple boss. - Stonuvan Temple Boss
The fiery region is home to a big bad of its own. Here, we breakdown how to cool off the game’s second boss. - Coohla Temple Boss
Almost at the end now, but one challenge still awaits. Here’s how to beat the Coohla Temple’s chilly boss.
More coming soon!
FAQs

Here are some frequently asked questions you might have about Splatoon Raiders:
How To Change The Difficulty
Splatoon Raiders will let you pick your difficulty option right at the start of the game, but don’t worry if you dive in and realise you made the wrong choice; you can always change it!
Here’s how to change the difficulty in Splatoon Raiders:
- Press ‘X‘ on the Hideout ship to open the main menu
- Hit ‘R’ twice to navigate to Options
- Scroll down to ‘Difficulty‘ and select whichever option you would like
It’s as simple as that! Remember, your chosen difficulty only affects how much enemies can damage you, and has no sway over the loot you’ll collect at the end of each level. You can even play with a friend online, and both keep your chosen difficulties all the while.
How To Play Online

There are two main ways to play online in Splatoon Raiders: Help and Multiplayer.
To request/offer help, you’ll first need to clear the Bowtlode Temple and enter the second region of the Spirhalite Islands. With that out of the way, you can offer help by pressing ‘-‘ on the map screen and selecting ‘Go Help!’. This will pair you up with somebody asking for help, and automatically throw you into their level.
To get help, navigate to the stage you’re struggling with on the map and press ‘A’. Before selecting the Spice level, hit ‘-‘ to call for help. Wait a moment to be paired with someone offering help, and you’ll be good to go!
To play multiplayer, head to the radio in the corner of the Hideout ship’s training deck and press ‘A’ to interact with it. Either press ‘Y’ to create a room, or choose one of your active friends from the list on the right to join their room. Alternatively, you can hit ‘ZR’ to enter Local Play mode, or press ‘R’ to join a room via a keyword.
How To Play Spicy Mode
Those after a real challenge can replay almost every level in the game on a harder ‘Spicy’ difficulty. To unlock this, you’ll first need to beat the respective region’s boss. Doing so will add the ‘Spicy’ option to each level’s start screen.
Simply choose this option before diving in to face tougher foes with different rewards.
Where To Buy Splatoon Raiders For Switch 2
So, you made it this far down the hub guide without owning a copy of the game? Fair play! You’ll find links to the game itself and the tie-in amiibo figures down below.
It’s well worth your time, too. In our 9/10 Splatoon Raiders review, the lovely Alex Olney described Raiders as “possibly the most variable and exciting game the series has ever offered”.