
The Obsession and Madness Abyss puzzle in Crimson Desert is a strange one. Firstly, because it’s actually called the Sanctorum of Insight — though you won’t know that until you complete the “Obsession and Madness” quest. Secondly, because there’s a secret way to skip the puzzle and immediately restore the Abyss. And thirdly, because an unfriendly fellow may thwart your plans for abyss exploration.
Here’s how to complete the Obsession and Madness Abyss in Crimson Desert.
Obsession and Madness Abyss walkthrough
To unlock the Obsession and Madness Abyss in Crimson Desert, you must follow the main story for a while. In Chapter 4, after you’ve solved the Scholastone Institute puzzle and defeated Tenebrum in southwest Hernand, you’ll get the Spire of the Stars quest, which is directly followed by the “Obsession and Madness” quest.

As soon as you enter the Abyss, be sure to activate the abyss nexus teleport waypoint as shown in the picture above.
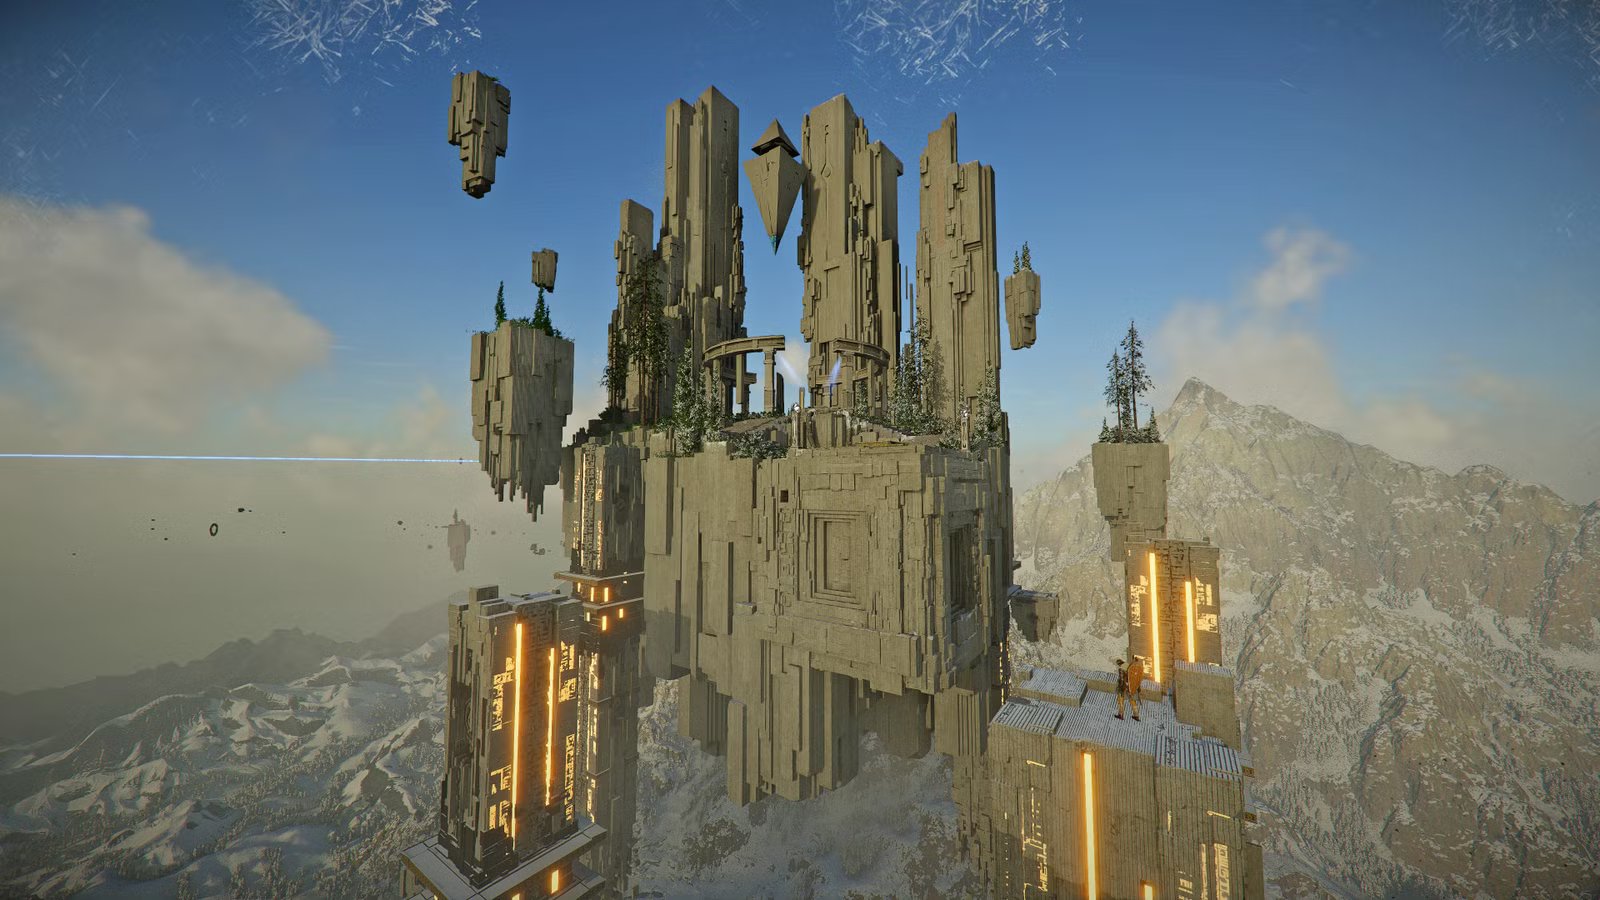
There are two ways to solve the Obsession and Madness Abyss puzzle. The easiest is to ignore the puzzle mechanics and simply climb and fly toward the exit. To do so, stand on the edge just behind the abyss nexus, use either Double Jump or Aerial Force Palm to fly upward (if you have either skill), then glide straight ahead to the large pillar, and climb up.

From there, use Double Jump or Aerial Force Palm again and glide straight ahead to the largest island. And that’s it! Beware, however, that this may be hard to pull off if you don’t have either ability or hardly any stamina skill upgrades.
If you’d rather use the puzzle mechanics as intended, here’s how to solve the Obsession and Madness Abyss puzzle. First, step onto one of the small floating platforms. There’s one attached to each of the large pillars. There’s more than one route you can take, but in this example, we’ll take the one on the left side of the abyss nexus.
Now, use Axiom Force on a circular panel (any will do, but there’s one right next to you on the large pillar). Press the “previous” or “next” buttons until the large pillar in the middle glows blue, then choose “operate.” The floating platform you’re standing on will fly toward that pillar.

And that’s how it works; every time you activate a large pillar through Axiom Force, all floating platforms connected to that pillar will float toward it. Now that you’ve reached the middle pillar, step onto the floating platform to your left (facing east) and use Axiom Force on the circular panel again. This time, make sure the pillar in the east glows blue before choosing “operate.”
Repeat this once more to reach the large pillar attached to the largest island in the Obsession and Madness Abyss (see the full route in the picture below). From here, climb up to the higher area.

Step onto the large round platform and use Force Palm in a downward direction (either jump up and aim downward, or crouch). This will trigger a cutscene, at the end of which you’ll find yourself back at the Scholastone Insitute below.

Don’t worry though; you’ve still restored the Obsession and Madness Abyss, which is now listed as the Sanctorum of Insight in “The Abyss” challenge overview. You can return to this Crimson Desert Abyss anytime you want; just open your map and select the abyss nexus.
If you take the skybridge to the southwest, you will reach the Secret Garden. Of course, you can also continue Crimson Desert‘s main quest first, which will take you back to the camp on Howling Hill.
Just starting out in Crimson Desert? We have guides to help you learn the basics and refresh your memory on how some of its systems work. The world of Pywel is huge, so you might have a hard time deciding where to go first, but you can make your journey a little easier with the help of our interactive map. Along the way, make sure to learn a few life skills like fishing, logging, cooking, and mining, all of which can help you make money. We also have walkthroughs for puzzles in the Abyss like the Root’s End and Precipice of Truth, as well as ancient ruins like the Dragon’s Stone Chamber.